Sewing Resolutions: Love Notions Margot Peplum

This post may contain affiliate links.
 This is my first entry documenting my sewing resolutions after explaining in my last blog post about wanting to learn pattern modifications for humans with curves (as opposed to tiny humans with straighter lines).
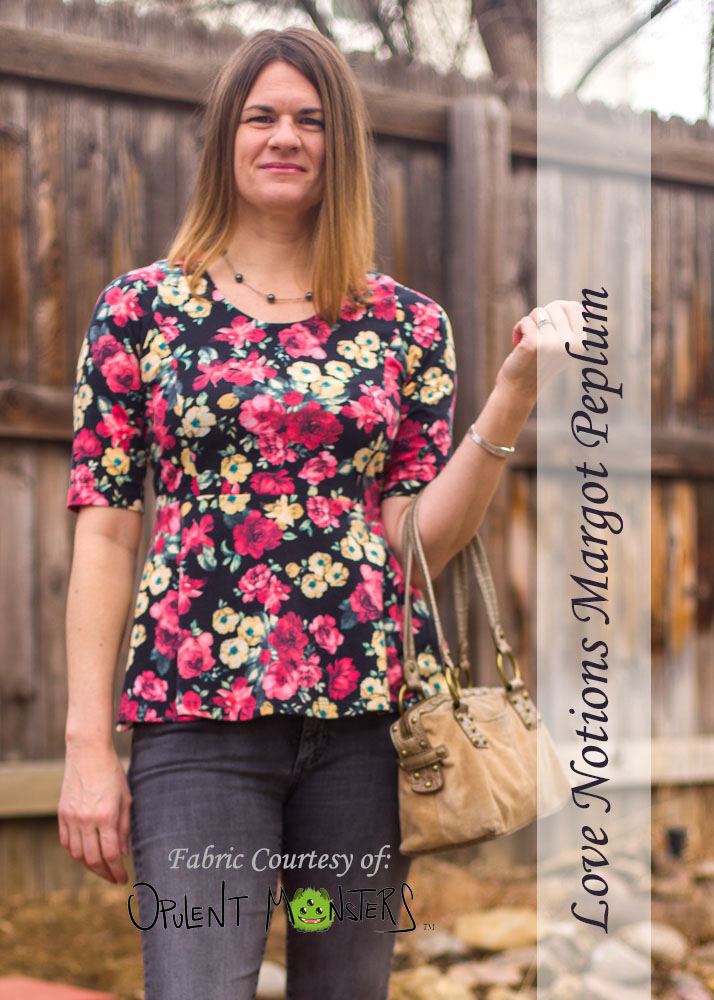
I was asked by Opulent Monsters to sew up this beautiful double brushed polyester/spandex. This fabric is amazingly soft and as you can see has wonderful drape for this top.
When I saw the fabric I immediately decided on the Margot Peplum by Love Notions as I recently purchased it and couldn’t wait to try it. Upon coming to grips that my body type falls under the triangle/pear category, I read that peplum tops are flattering to these types of shapes. Not to turn this into a complete pattern review, but I have always loved Love Notions patterns as they please my brain’s desired for order. They’re well put together, internally linked, and include layering in addition to no-trim pages. I have sewn the children’s patterns in the past so thought I’d try my shot at one of her adult patterns.
Take me to the final pictures |How I modified the pattern
Free Notion (I’m a bit obsessed with this site if you couldn’t tell) put together a chart that explains the measurements pattern designers draft for. This is very helpful information when determining which modifications you’ll need to make to the flat pattern before starting or even when choosing which patterns to purchase. I am of the opinion any flat pattern modifications that can be made before sewing a muslin, the better. Here’s the info on what size Love Notions patterns are drafted for. She drafts for a 5′-5″ tall woman with a B-cup. By the way, did you know that your bra size is different from your sewing size? No? Me neither! She talks about that too.
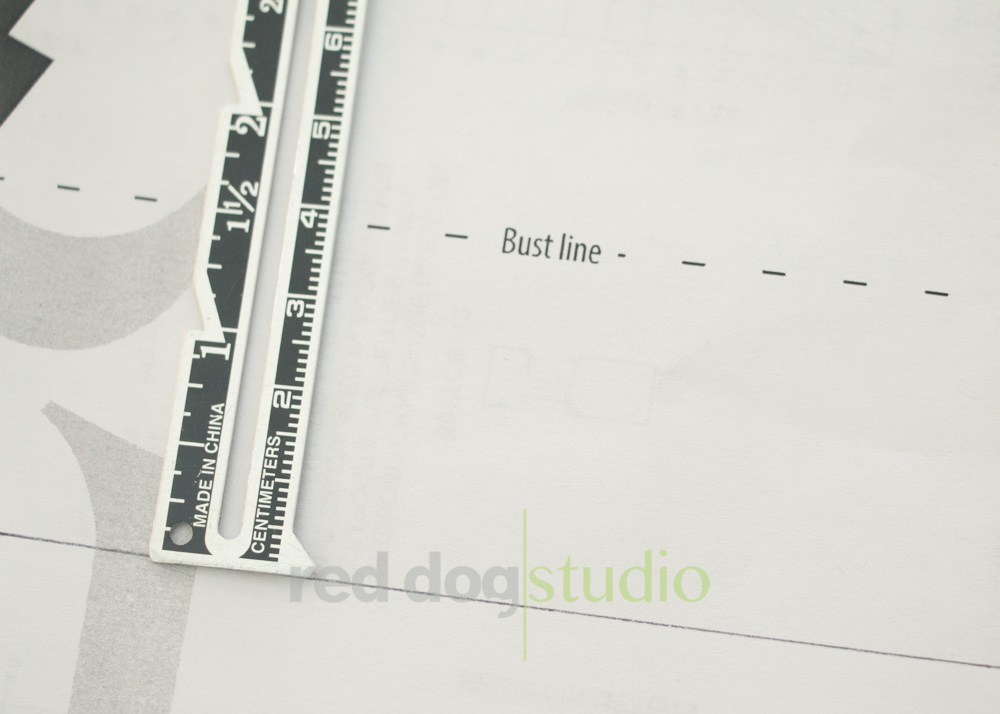
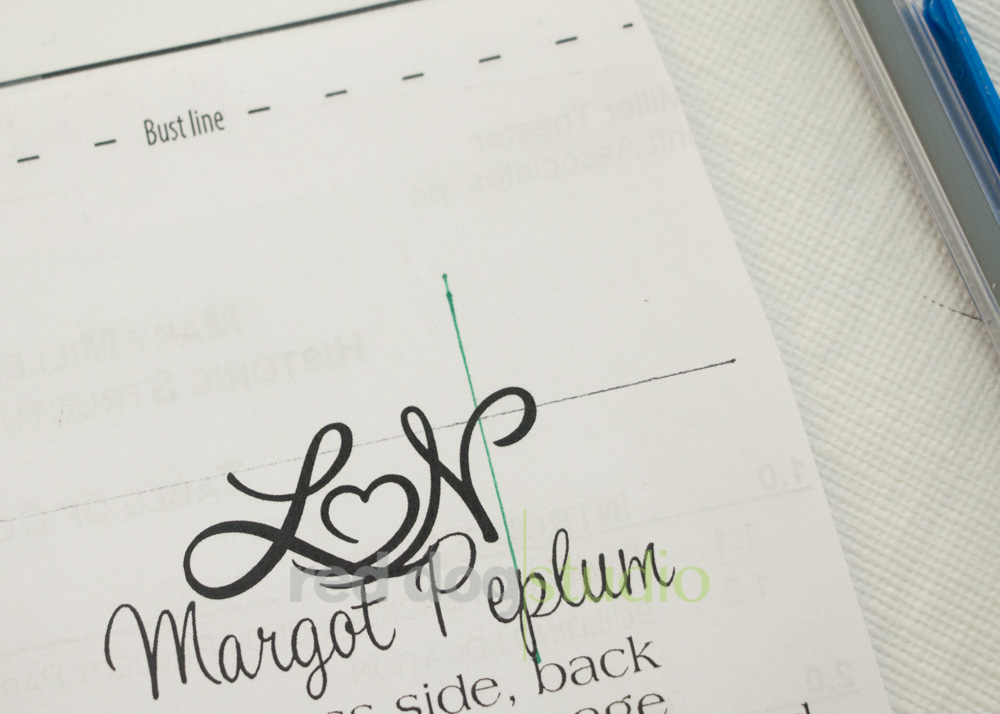
I started with the basic knowledge of whom she drafts for and since I am a B-cup-ish, didn’t need to do any bust adjustments to the bodice but I did add length per the instructions in the pattern. I’m 5′-6″ so added 1/2″ to the bodice under the bust line. This pattern does indicate the bust line which is a super helpful marking to have. Knowing the location of your bust apex (this is a great article on bust apex adjustment – which is roughly the line of your nipple location) allows you to determine where in the pattern you needed to add or subtract length. For me, my apex is roughly in line with the bust line on the pattern so I added my length below the bust line. This may be a bit crude and not appropriate technique but to quickly determine that my apex was at the bust line on the pattern, I held the paper pattern up against my body, placed the shoulder seam approximately where it would be located on my shoulder and molded the paper pattern around my chest.
The steps I did to do a simple length modification to the princess seam bodice is below the pictures. This pattern paired with the double brushed poly/spandex make a perfect combo.


The options I chose to sew (and there are a few!) are the princess seam bodice, circle skirt, and elbow length sleeves. Here are a couple quick shots of how I altered the pattern and here are the steps (click on images to enlarge):
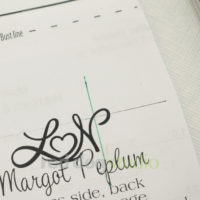
 I drew a line 1.5″ under the bust line and will add my length at this line. Some patterns indicate a lengthen/shorten line and it’s always best to make that modification at the point suggested to maintain any geometry that may be happening at either side of the line (i.e. a curved hem on a skirt or waistband on pants). You’ll want to draw this line perpendicular to the grainline. This typically ensures that the changes you make will be parallel to the ground.
- Draw a second, vertical line perpendicular to the
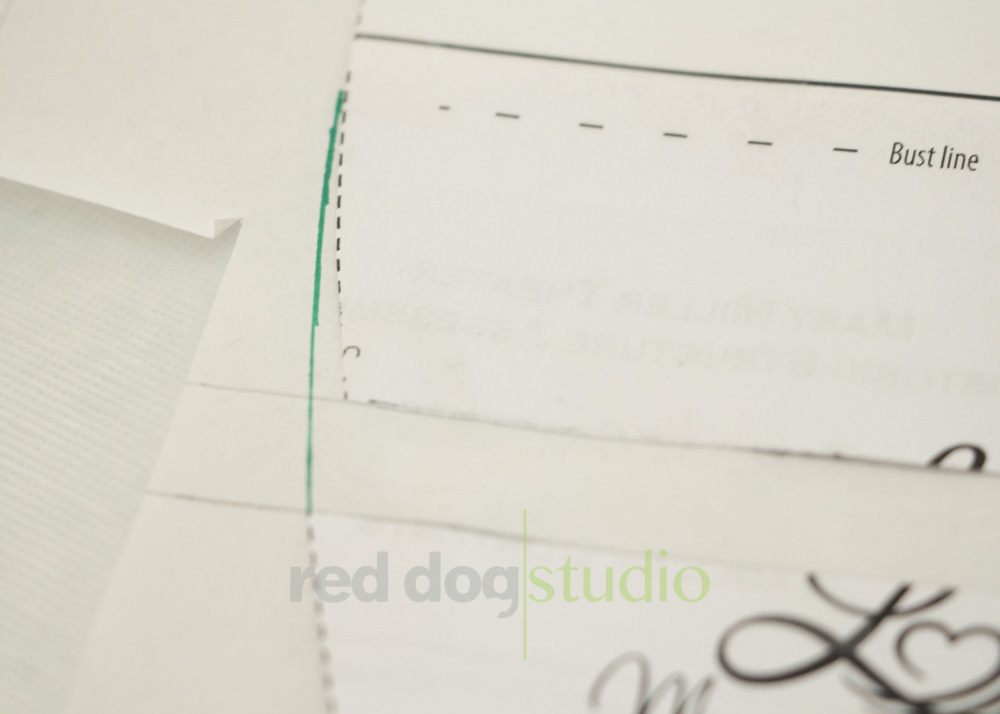
 line you just drew (in green on my pattern mod). Or you can use the grainline mark already on pattern if it crosses your first line you drew. You’ll use this to ensure proper alignment when splitting the pattern apart.
 - Cut the pattern at the first line drawn.
- If you’re lengthening, grab another piece of paper (medical paper, freezer paper, printer paper) and draw a line.
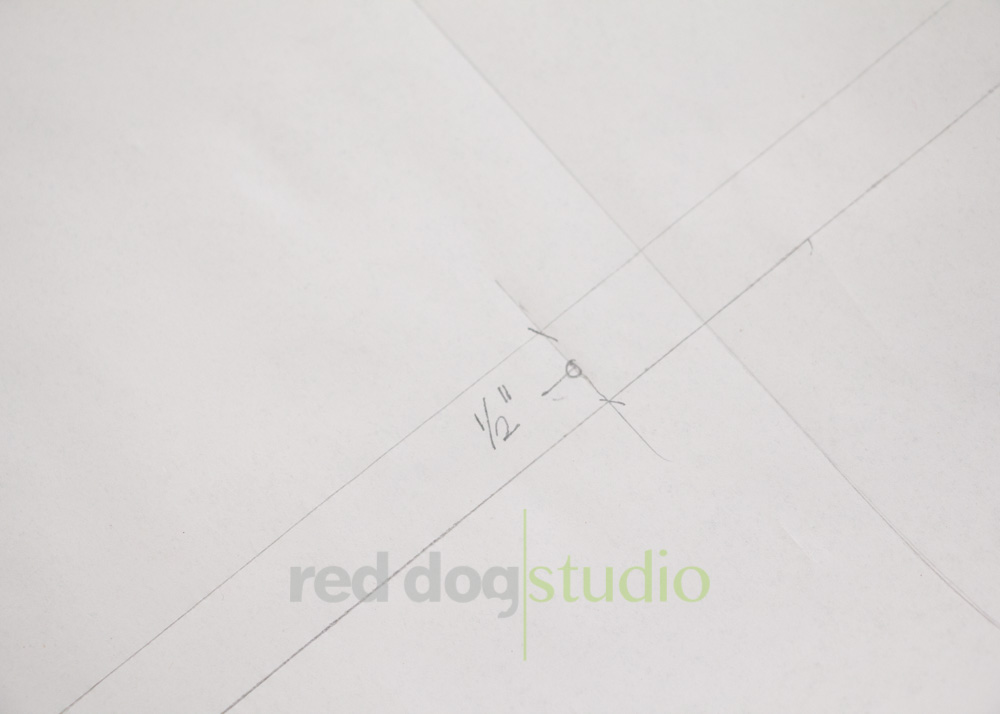
 Draw a second line parallel to the first. The distance between these two lines is how much length you want to add. In my case, I need to draw the line 1/2″ away.
- Also draw a vertical reference line perpendicular to these two parallel lines to line up with the vertical line drawn on the pattern piece.
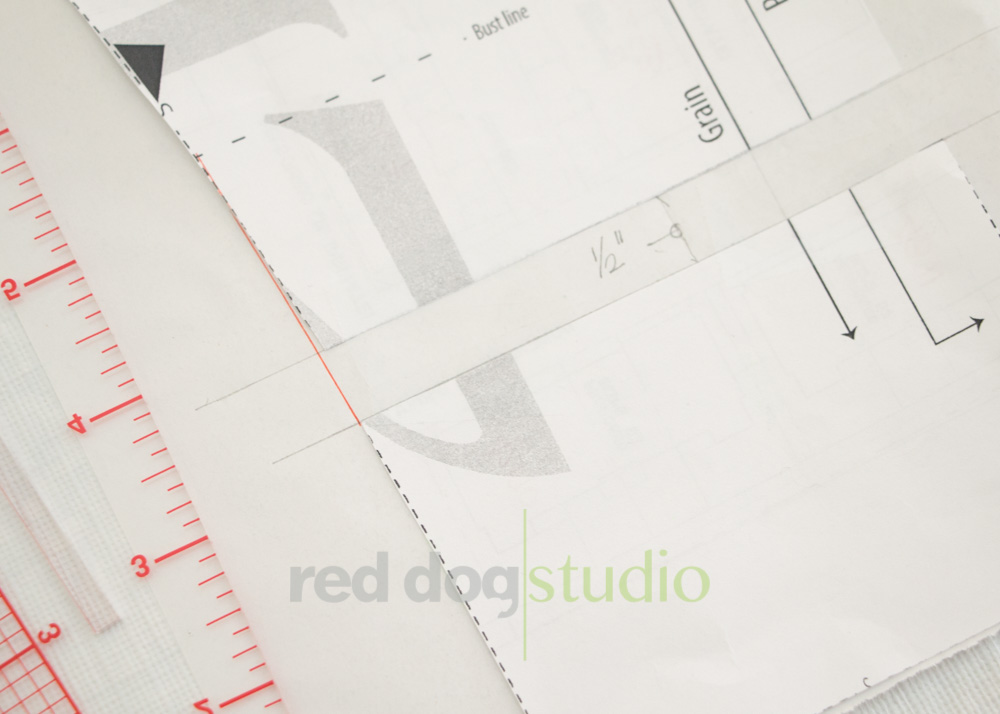
- Place the upper part of the pattern piece that was cut apart on the top reference line and tape into place
- Place the lower part of the pattern piece on the bottom line drawn and tape into place. Don’t forget to align those vertical reference lines. You’ll see in the image below, I was actually able to use the grain line as my reference for alignment.
 Use a french curve or hip curve to blend between the cut portion of the pattern piece. Princess seams have some geometry to pay attention to and the instructions in the Margot tell you how to blend but I just chose the bust line and then the hem line and used my styling curve tool to blend down between these points.
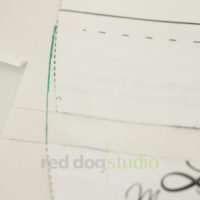 Repeat on all pattern pieces making sure your lengthen/shorten line is in the same spot on each pattern. For the princess seamed bodice, there are 4 pattern pieces to alter.
I did do a super quick muslin of just the bodice portion to make sure the bottom of the bodice was hitting where the pattern said it would. And 1/2″ is really all I needed. I didn’t see any other modifications that needed to be made. However, I’ve been wearing this over the past couple weeks and have noticed there’s some pulling at my right shoulder so either I have some sloped shoulder issue or I didn’t sew it quite right. I’ll see on my next one if it resolves.
Those were super simple pattern modifications for my beginning project. The rest of this top fits beautifully right out of the envelope and I cannot wait to make more. I’m so jazzed this pattern fit me so well with almost zero modifications I will be making the Love Notions Willow Wrap dress next so stay tuned!