Pattern Testing: Peek-A-Boo’s Juliet Dress & Top

Peek-A-Boo Pattern’s new Juliet Dress & Top sewing pattern is quick to make with options galore.
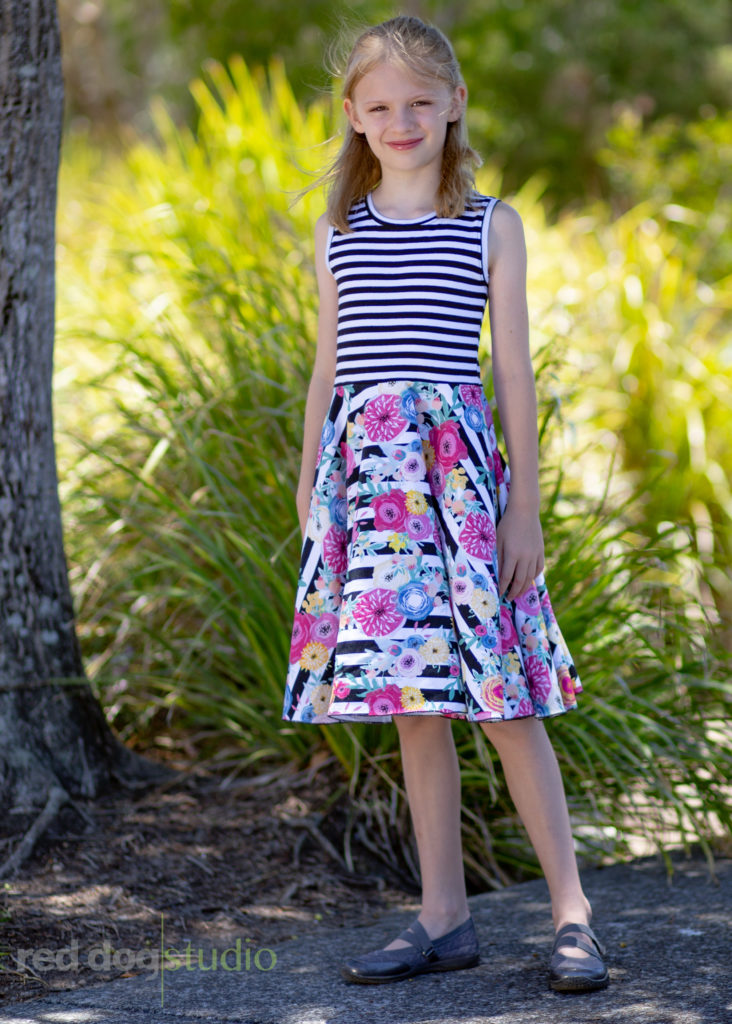
I was reminiscing to myself that I have been sewing Peek-A-Boo patterns for my daughter for the last 6 years! Just 3.5 years ago we tested PAB’s Spunky Girls Skater Skirt (look how much younger she looks!). My daughter has been in a dress kick lately (thank you Queensland summers) and she loves a good twirl dress. With the many and varied options of the Juliet Dress & Top, I can happily accommodate.
This post may contain affiliate links. By purchasing through these links, I get a very small percentage of the sale which provides support for this home seamstress to continue to bring you reviews and sewn up, modeled views of patterns. I thank you!
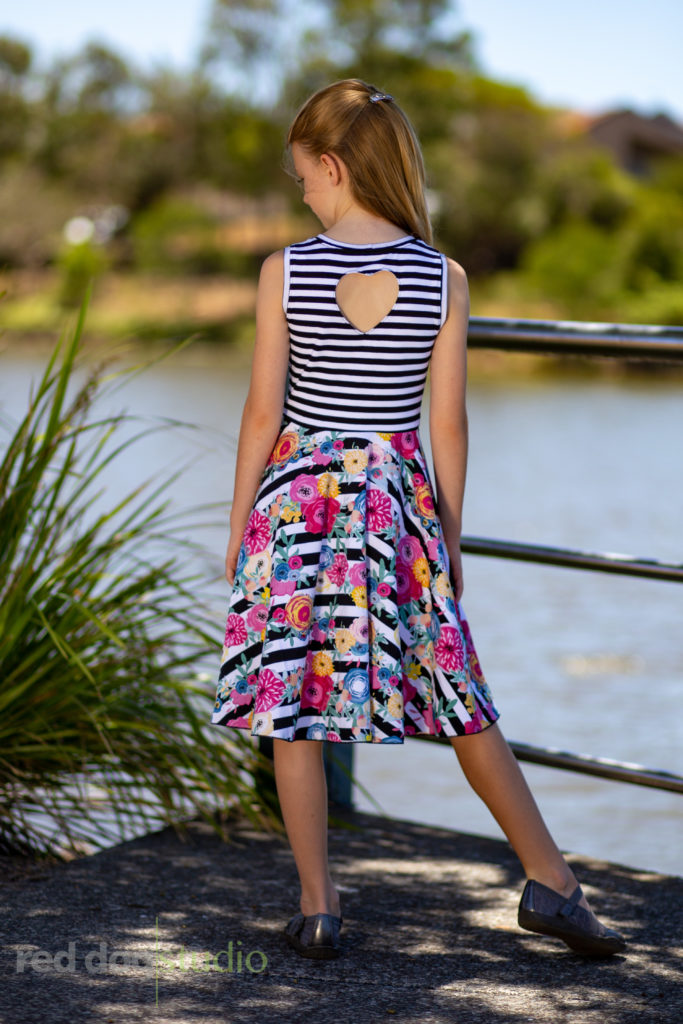
This dress is for knit fabrics and is really quick to sew (especially the sleeveless option, hey!). Throw in a rolled hem on the circle skirt and you can be in and out of your sewing studio in 1-1.5 hours. In order to make the cut-out, one of the bodice pieces (either front or back depending on which side you want the cut-out) will be lined. The instructions include steps for using this lining piece in a way to make your seams on the bodice enclosed, which may be a great option if you have a child with sensory challenges. It also includes “typical” instructions if you’re in even more of a hurry. I always appreciate extra instructions that a WAHM/D can easily add to their assembly to provide a more professional look. Let me walk through the options then have a quick chat about fit and construction. For my version, I used the heart cut-out on the sleeveless bodice with the circle skirt.
Bodice Options:
- Sleeveless (the sleeveless option is a completely separate pattern piece; you don’t just use the sleeved bodice and bind the edge) – the sleeveless bodice has instructions for either banded openings, or bindings.
- Sleeved with these lengths: short, 3/4, or long
Skirt Options:
- Peplum length
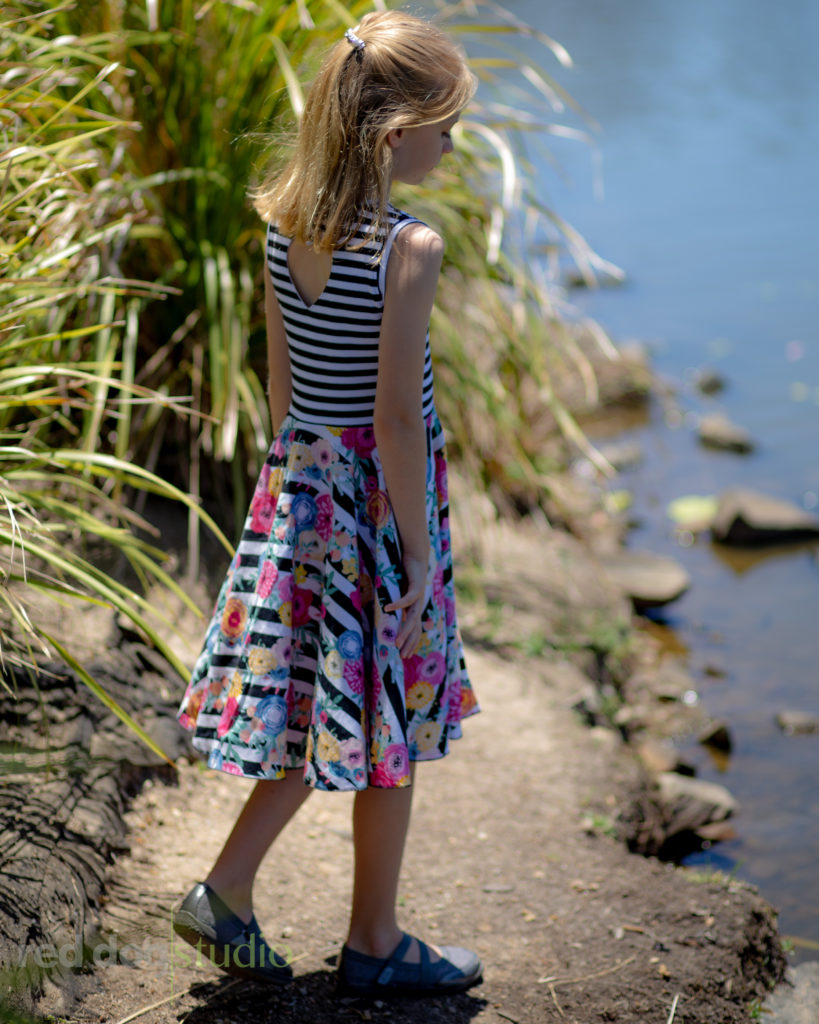
- Circle Skirt option (knee length)
- Gathered skirt option (knee length)
Cut-out Shape Options – it should be noted that for all of these cut-outs, a full coverage/modesty panel was also included as a pattern piece and in the instructions. That way if you don’t like having a “peek a boo” cut-out, there’s an option to have a panel behind the cut-out. This also allows the cut-out to be placed on the front bodice piece as a type of reverse applique:
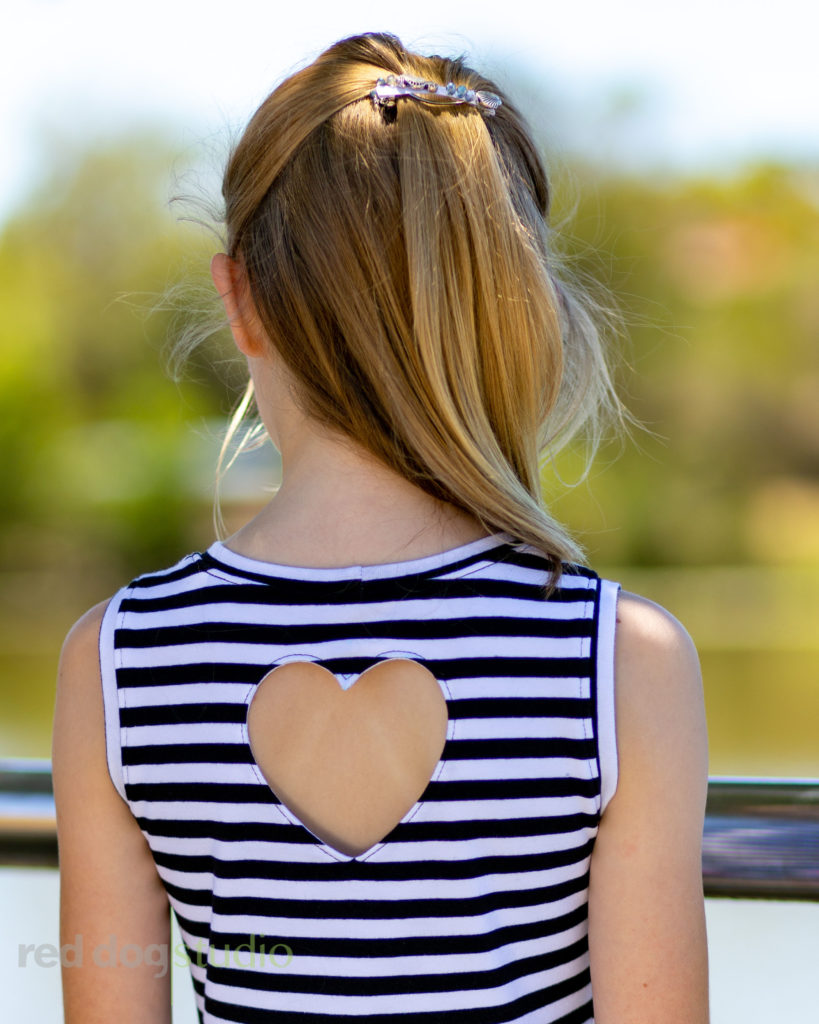
- Heart
- Oval w/a Bow across the opening
- Star*
- Bunny (perfect for Easter!)*
*Note that during testing, it was decided that the star and bunny shapes lent themselves better to using the full coverage panel to gave it some stability. Testers found that the openings gaped a bit on these versions.
PDF FEATURES –
Layers: Yes
Paper Sizes: the pattern pieces in the PDF are 8.5″x11″ (US Letter). It is formatted so it also prints on A4 sized paper.
“No Trim” Pages: No
Print Shop Size Offered: Yes
Other: The instructions include a print chart of which pages need to be printed based on size and options selected. Instruction graphics are photographs (vs. illustration)
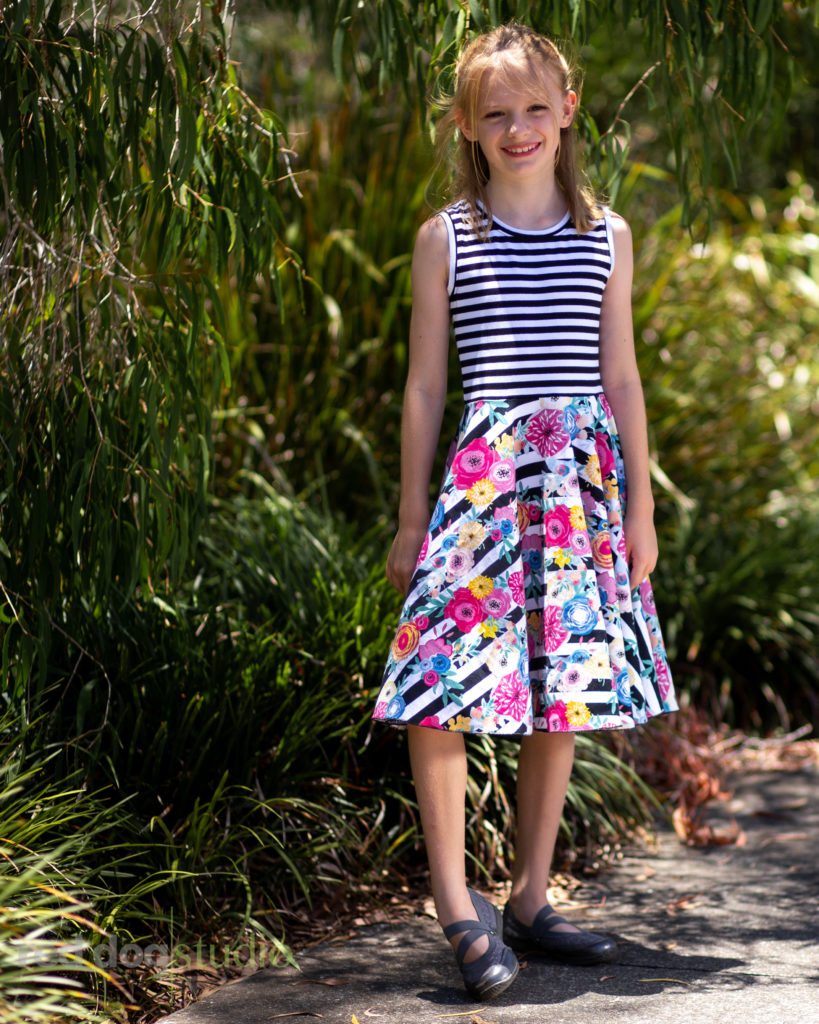
Based on the pattern’s measurement chart, my daughter measures a size 6 for chest and size 8 for length. These bean pole proportions are something I have to deal with for both of my kidlets! Customizing clothing is one of the main reasons why I make their clothes. My kids can finally have nice fitting things. I am pleased with how the bodice fits her in the front and back, and the heart lies nice and flat. During testing, the sleeveless bodice was modified to have a better fit along the armscye so it fits well there without bunching. The cut-out shapes were also made smaller from the original and these new proportions look better along with helping reduce gaping. I think, though, I would scoop out the back armscye just a hair more for her. Lengthwise, the bodice/skirt seam sits right at the waistline as the pattern description indicates. I did take about 1/2″ off the length of the skirt but, again, that’s part of the customization process.
Other fun things one could add to this pattern (not included) are pockets! My daughter loves pockets (natch), and it would be easy to do with hidden side seam pockets. I would use the pocket bags from the previously mentioned skirt from PAB. The other modification I would love to try is using this dress’s block as a moulage, since it fits her so well, and trying out adding princess seams to create a skater dress. Would you like to see my try it and blog about it? Drop me a comment below.
In the meantime, you will want to make all the Juliets to bring you through all seasons. Valentine’s Day is coming up, perfect for the heart cut-out, followed by Easter, 4th of July…..
Click here to grab your Juliet! On sale through the 31st.
Disclosure of Material Connection: I was chosen as a pattern tester for the Juliet Dress & Top and therefore given the pattern only for the purposes of the testing. This blog review was unsolicited and opinions and recommendations are solely my own.